Your First Paid Campaign on Flutter, FlutterFlow or Expo: The Tracking Setup Checklist


On this page
Tracking setup checklist for Flutter, FlutterFlow and Expo apps
Many founders reach their first paid campaign the same way: the app is built, subscriptions work, and now it's time to grow. Several told us the same thing when we asked how they'd track ads: they hadn't figured it out yet, but planned to "before launching the ads."
That's the right instinct. One growth-minded founder put the rule in one line: "set up your tracking before you spend a single dollar on ads." Data you don't collect on day one can't be recovered later.
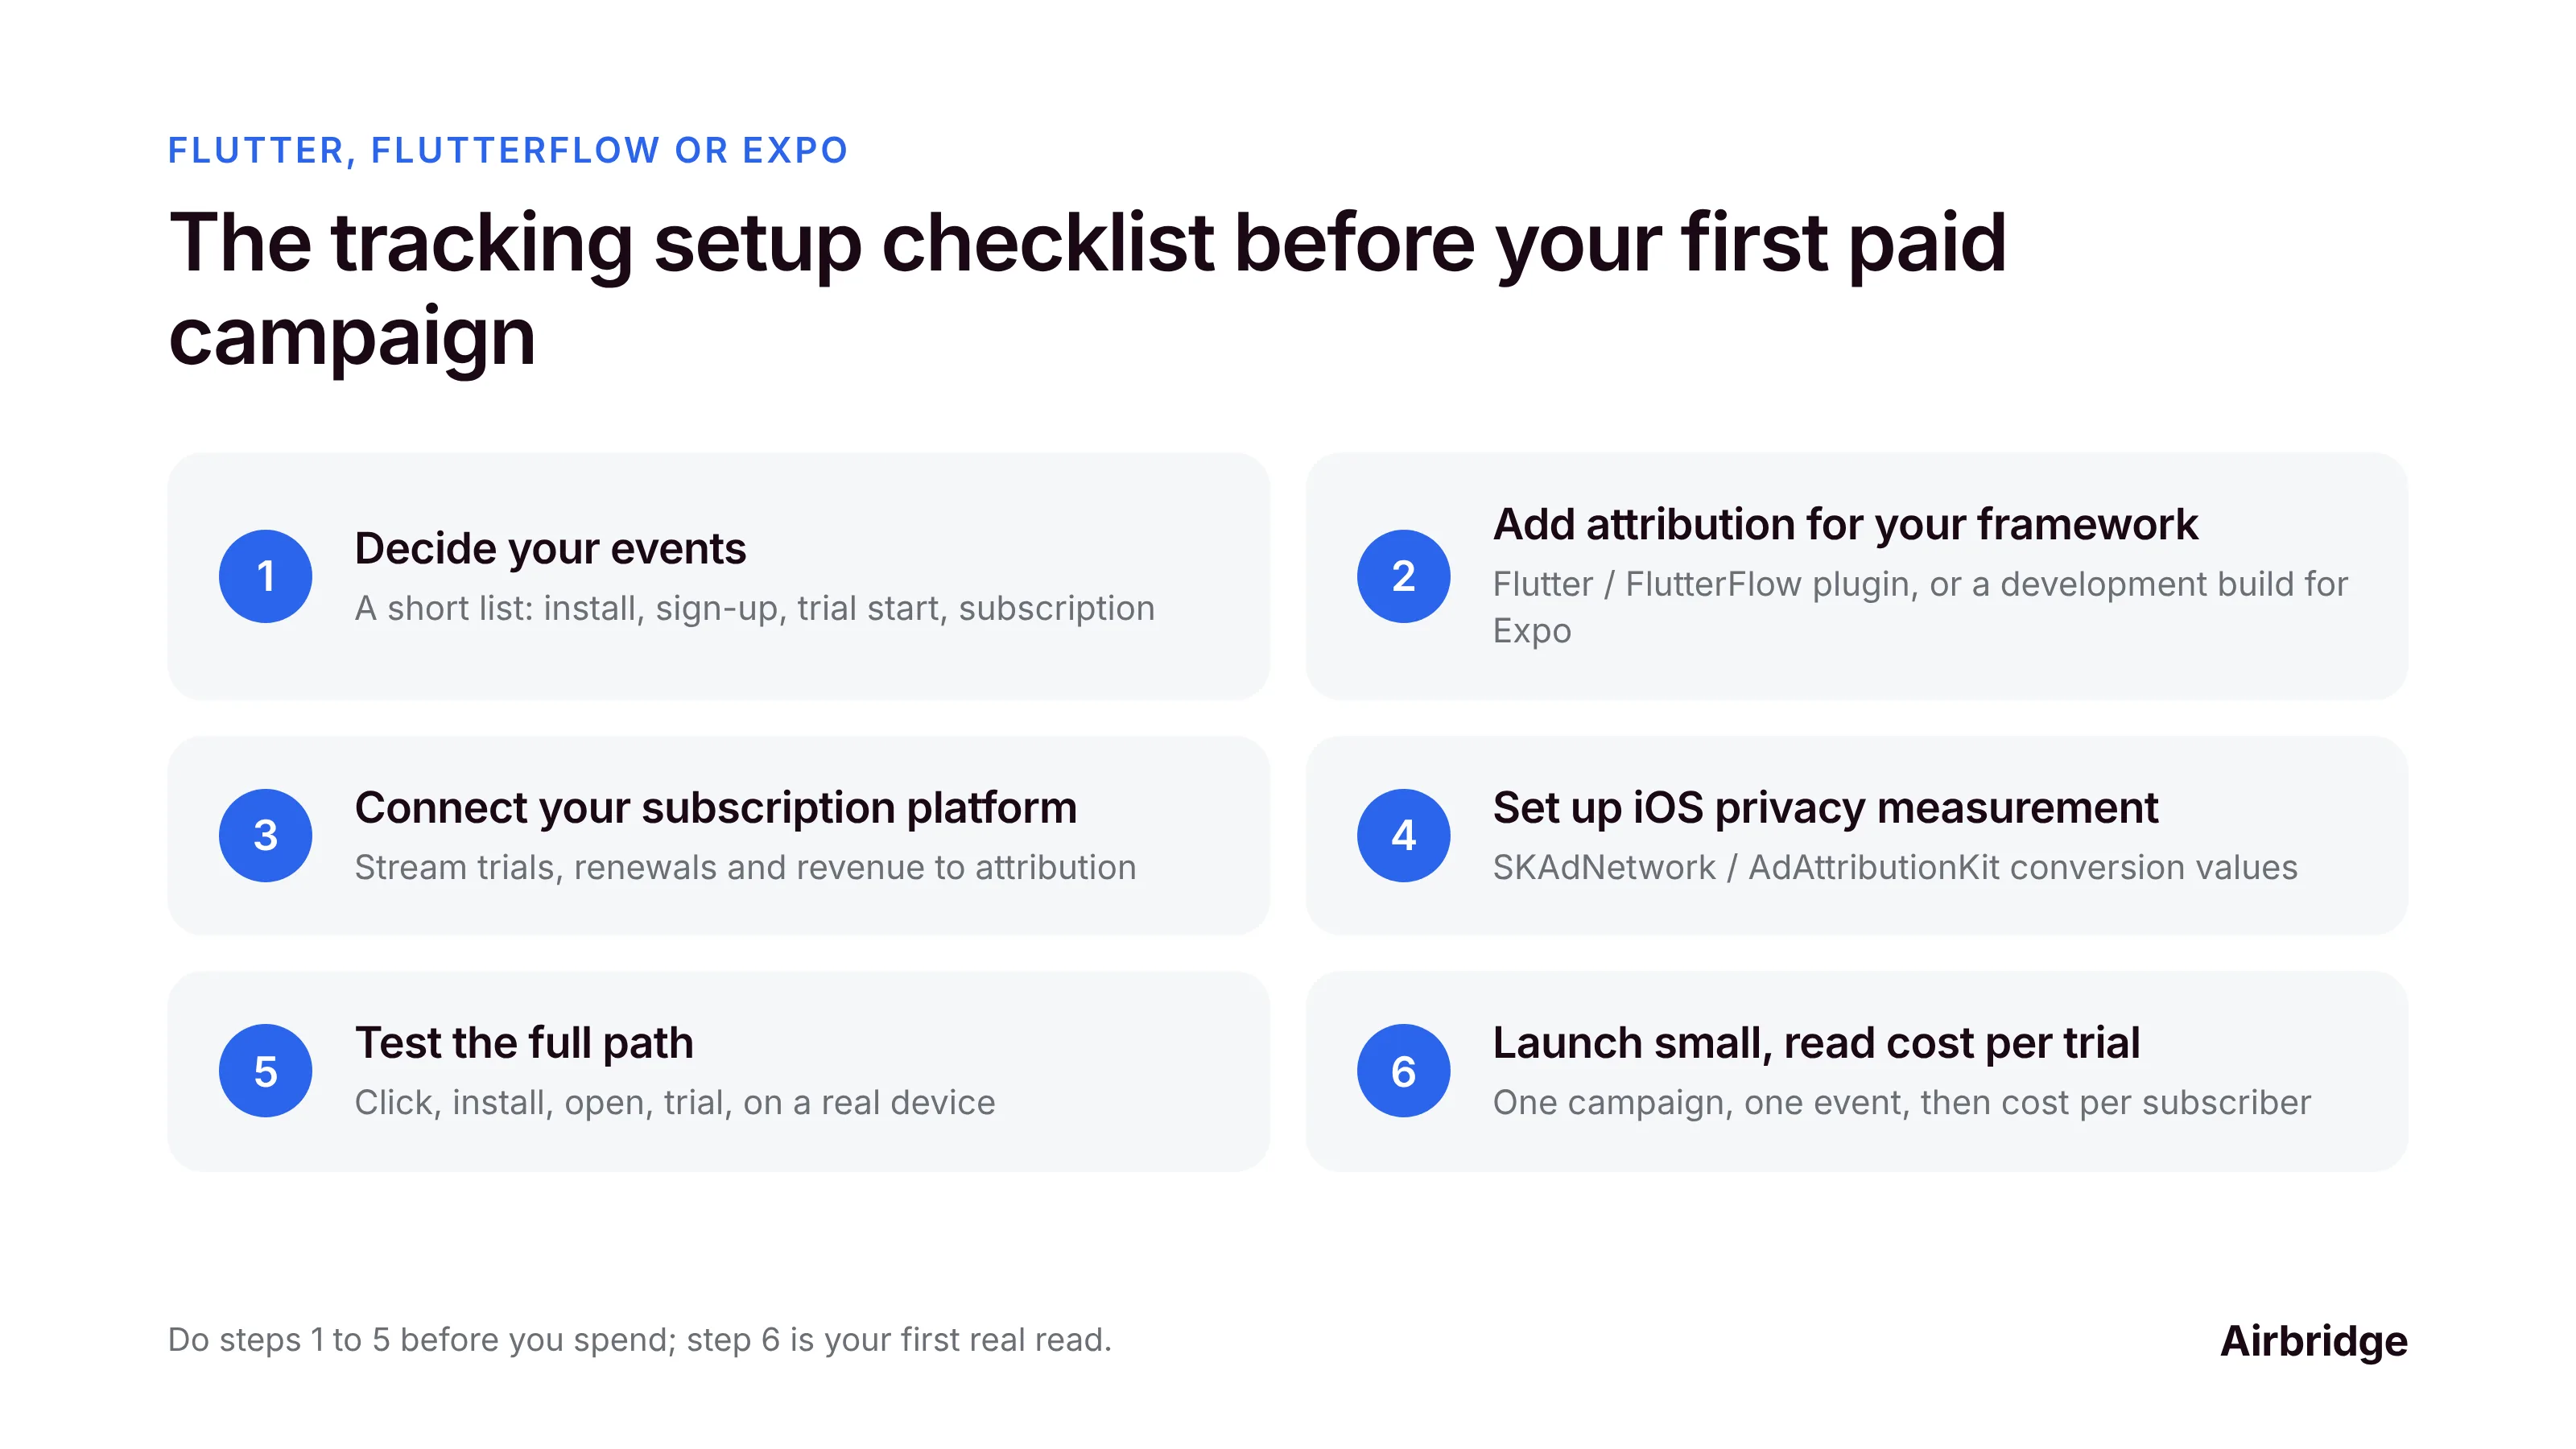
The checklist. Before your first campaign:
-
Decide a short list of events.
-
Add an attribution SDK the way your framework supports native code.
-
Connect your subscription platform.
-
Set up iOS privacy measurement and update your privacy policy.
-
Test the full path from a test ad click to a trial start.
Step 1: Decide your events
Keep it short. Four or five events cover most subscription apps:
| Event | When it fires | Why it matters |
|---|---|---|
| install / first open | First launch | The base of every funnel |
| onboarding_complete | Last onboarding screen | Early quality signal |
| start_trial | Trial confirmed by the store | The event most small campaigns should optimize for |
| purchase | First paid transaction | Revenue |
| renewal | Each renewal | Long-term value |
Use the same names everywhere: in your app, subscription platform, attribution tool and ad platforms.
Step 2: Add attribution the right way for your framework
Attribution SDKs and ad platform SDKs include native code. How you add them depends on your stack:
-
Flutter: add the vendor's official Flutter plugin from pub.dev, then follow its iOS and Android setup steps (Info.plist, AndroidManifest, initialization in main.dart).
-
FlutterFlow: add the plugin as a dependency through custom code, and call it from a custom action at app start. Check that your FlutterFlow plan supports custom code before you commit to a tool.
-
React Native with Expo: Expo Go can't load custom native modules. Use a development build and the vendor's config plugin, then build with EAS.
-
Bare React Native: install the npm package and run the native install steps for iOS and Android.
Whichever you choose, prefer an SDK with official support for your framework. Community wrappers can lag behind native SDK updates.
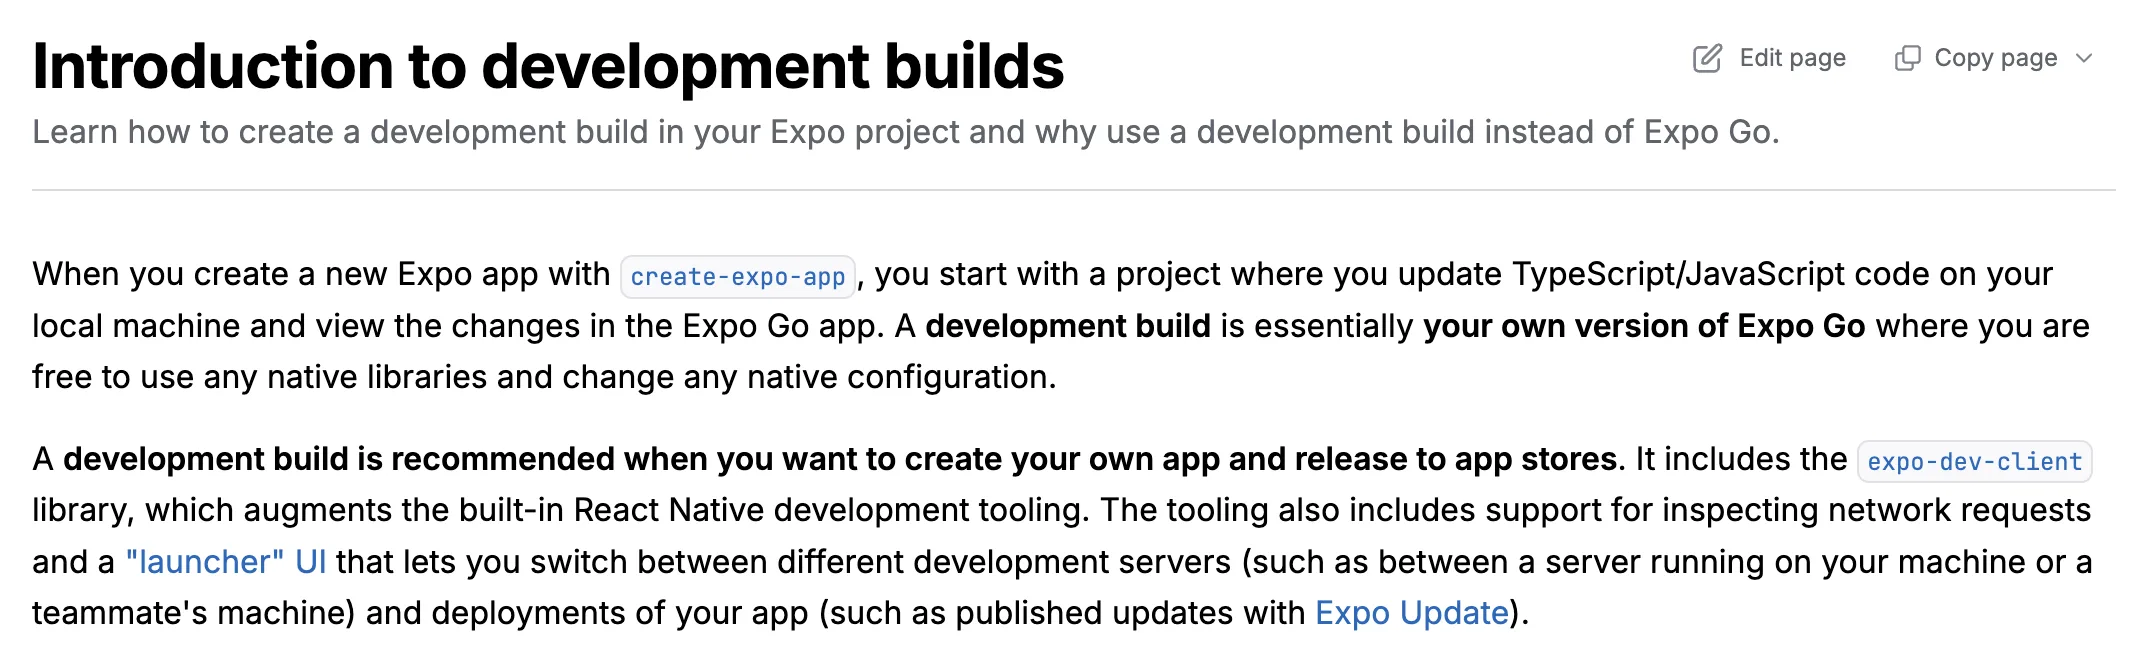
Expo recommends a development build when you need native libraries and plan to release to the app stores. Source: Expo documentation
Want to see how App tracking setup before running ads works with your data?
Get hands-on with Airbridge and see real results.
Try It Free →Step 3: Connect your subscription platform
If you use RevenueCat, Adapty or Superwall, turn on its integration with your attribution tool. Subscription events such as trial conversions, renewals and refunds then flow to the campaigns that drove each user, server to server, without extra app code.
Step 4: Set up iOS privacy measurement
-
ATT prompt: decide whether and when to show the App Tracking Transparency prompt. Show it after you've explained the value, not on the first screen.
-
Privacy-preserving attribution: Apple's AdAttributionKit and SKAdNetwork measure ad conversions without the ATT prompt. Map your key events, especially trial start, into conversion values.
-
Apple Ads: collect the Apple Ads attribution token at first launch so installs from Apple Ads are tagged by campaign and keyword.
-
Privacy policy and store labels: update your privacy policy and the App Store and Google Play data disclosures to reflect the SDKs you add.
Step 5: Test the full path
Before spending, run one end-to-end test:
-
Tap a test tracking link on a real device.
-
Install the app from the store or a test build.
-
Complete onboarding and start a sandbox trial.
-
Confirm in your attribution tool that the install and trial are credited to the test link.
-
Confirm the trial start appears once, with the right timestamp, in each ad platform's event tools.
Fix anything that fires twice or not at all now. It's much harder once real money is flowing.
Step 6: Launch small, read cost per trial
Start with one channel and one campaign optimized for trial starts. After a week, read cost per trial. After the trial period, read cost per subscriber. Then decide where the next dollar goes.
Setup FAQ
What should I set up before running ads for my app?
A short event list, an attribution SDK, your subscription platform's integration, iOS privacy measurement, an updated privacy policy, and one end-to-end test from link tap to trial start.
Can I add an attribution SDK to a FlutterFlow app?
Usually yes, by adding the vendor's Flutter plugin through custom code and initializing it in a custom action. Check your plan's custom code support first.
Do attribution SDKs work with Expo?
Yes, with a development build. Expo Go can't run custom native modules, so use a development build and the SDK's config plugin.
Do I need the ATT prompt to measure iOS ads?
No. Apple's privacy-preserving attribution frameworks work without it. The ATT prompt gives more detailed data for users who allow tracking.
Which event should my first campaign optimize for?
For most trial-based subscription apps, the trial start: it predicts payment and happens often enough for ad platforms to learn.
Launch day
Your first paid campaign is a test, and a test is only useful if you can read the result. Pick your events, add attribution the way your framework supports it, connect your subscription platform, handle iOS privacy, and test the whole path before you spend.
Airbridge offers SDKs for native, Flutter and React Native apps and connects with RevenueCat, Adapty and Superwall, so your first campaign shows cost per trial and cost per subscriber from day one. The Core Plan is built for subscription apps, and you can try it free for 30 days, then from $40 per month.
Ready to transform your mobile growth?
Learn how Airbridge helps leading brands measure and optimize every touchpoint.
“We went with them because their tech is better. It's best-in-class, for sure, but the real difference for us was the people.”